![]()
Almost immediately after my husband and I bought our first house, we started dreaming about our next one. It was not a matter of discontentment, we loved our house, but we are dreamers and started putting together our ideal forever home. In hindsight, having this list was the motivation we needed to look at our now current (and hopefully forever) home.
One of the items on the top of my list was a living room and a family room. I wanted a space without a TV when you walked in the house. We are not huge TV watchers anyways, in fact, we have been in our current house almost 6 months and the TV has yet to be hung on a wall. So creating a space where the focus would be on relationships and fellowship, not staring at a giant screen was really important to me.
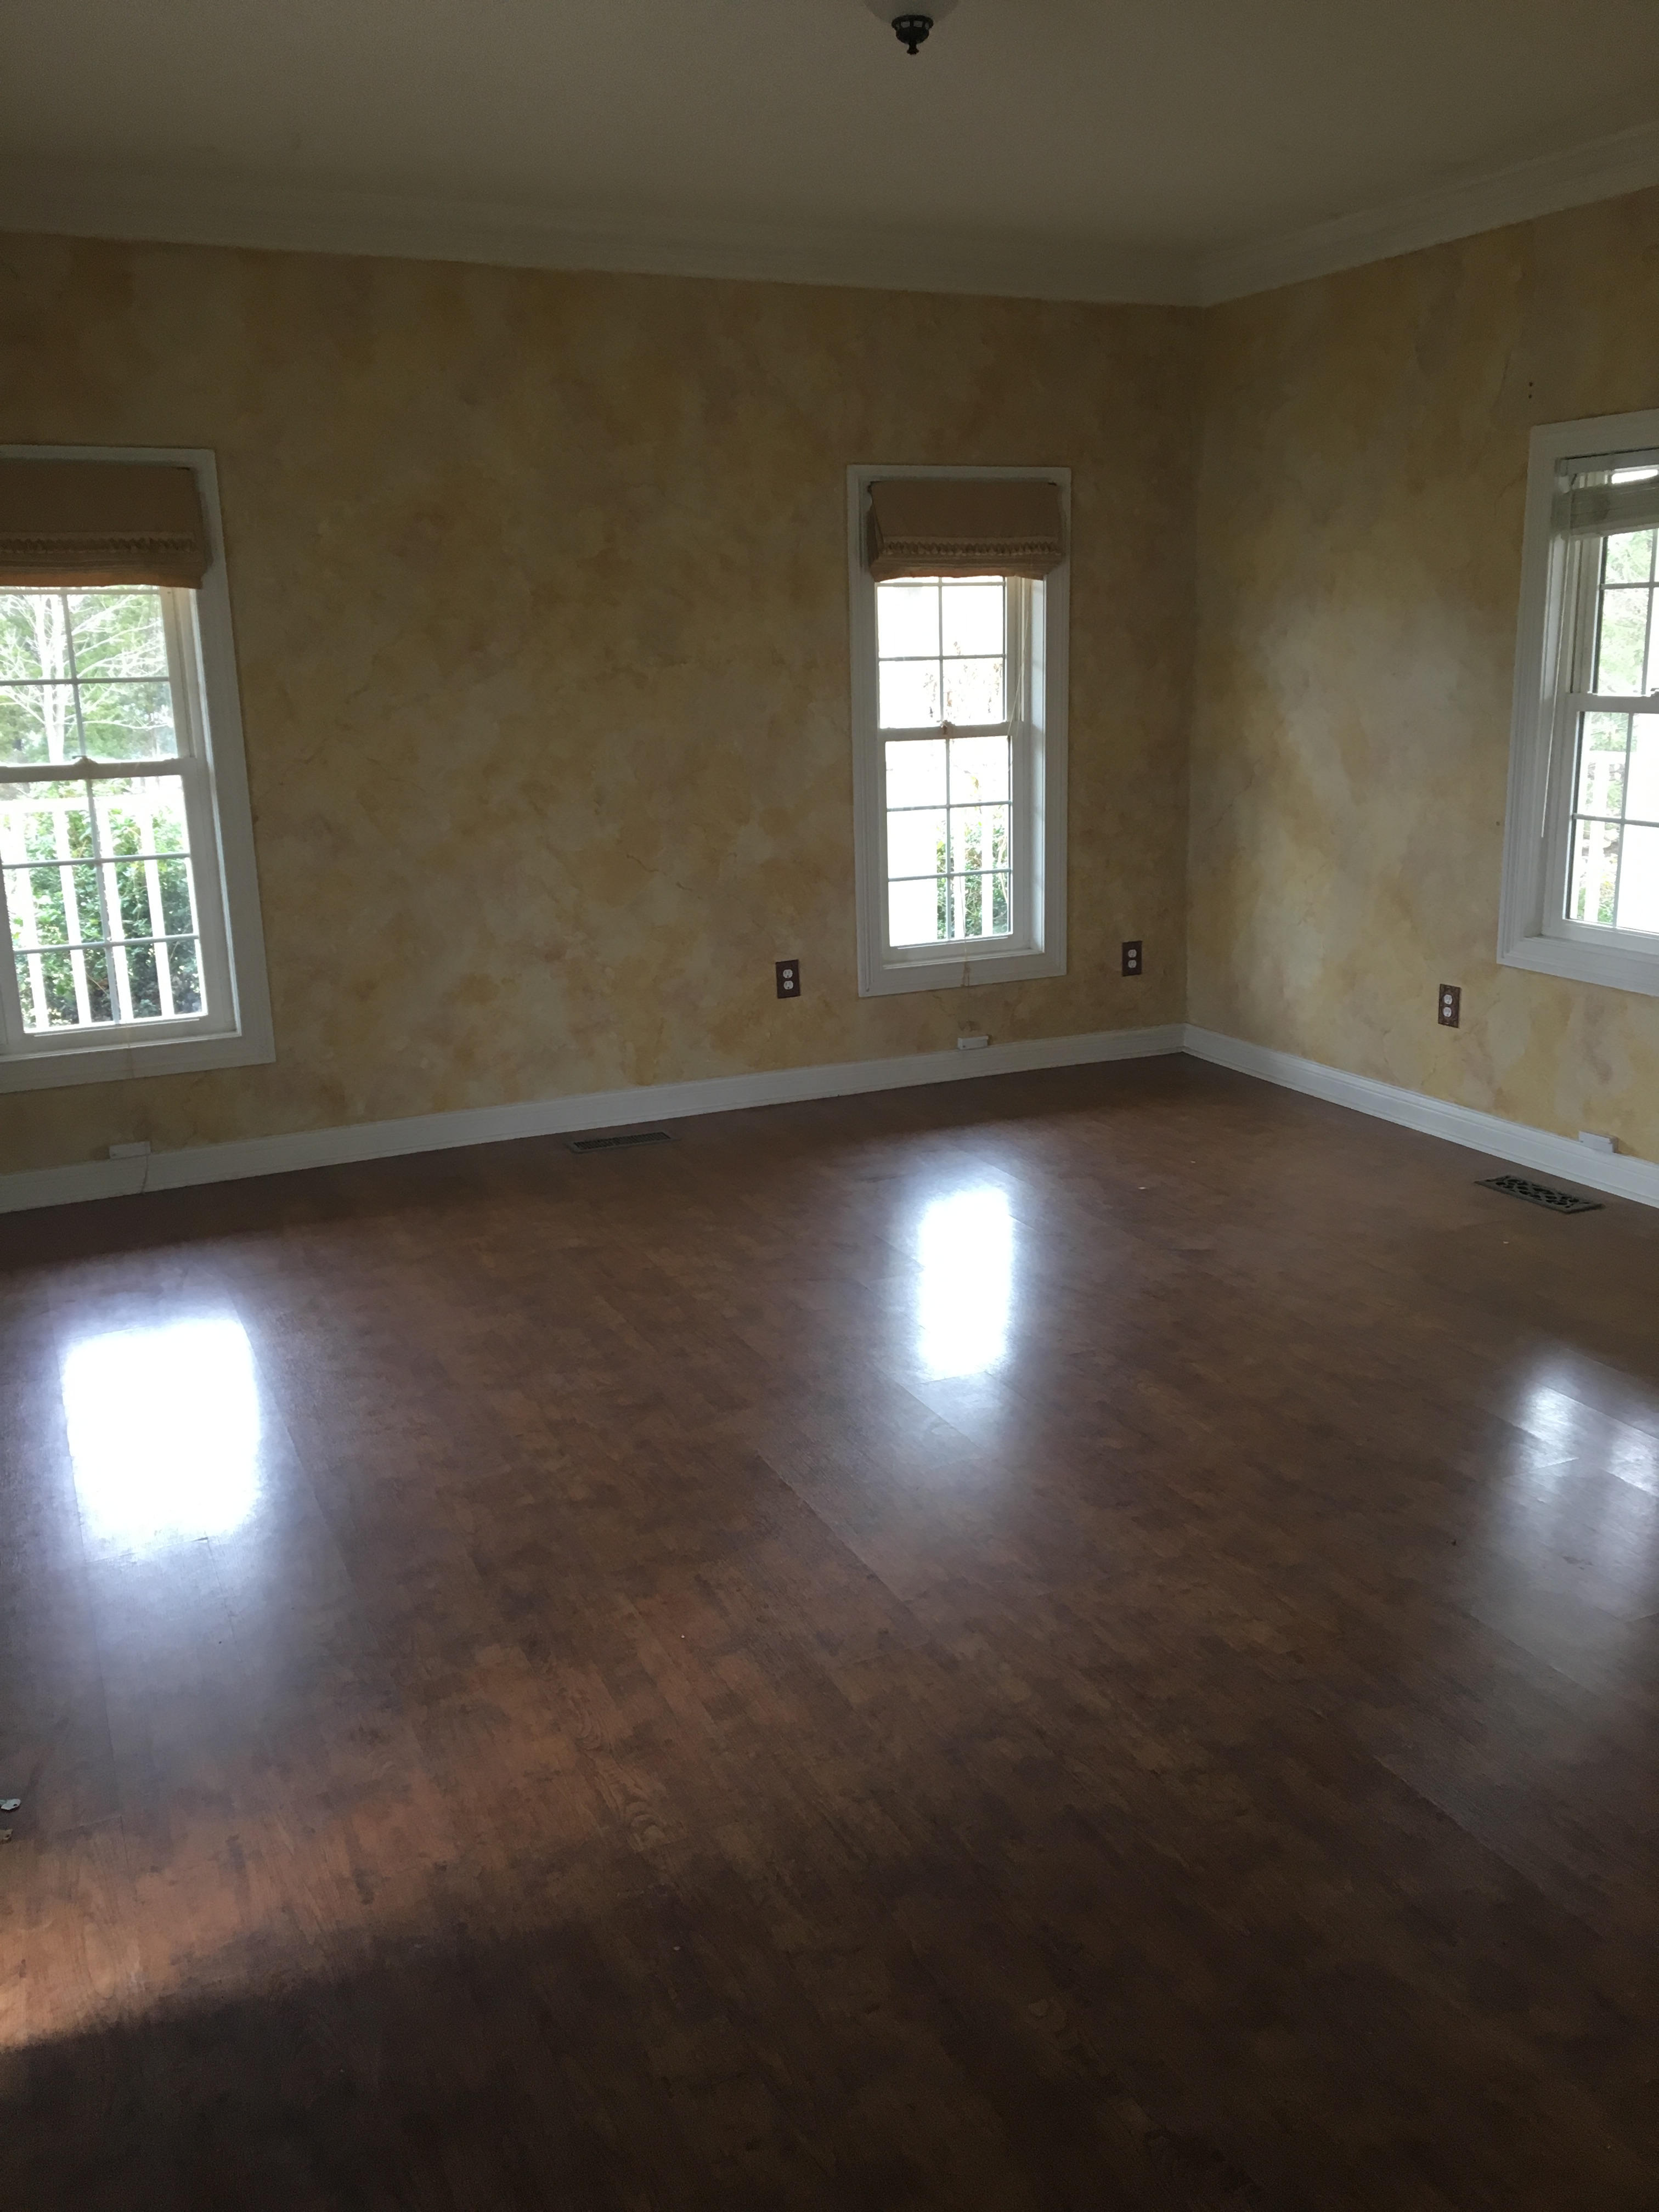
The house we now own fit my requirement perfectly. You walk in the front door to a living room, kitchen, and dining area. Off the back of the house is a large, rectangular family room mostly secluded from the front of the house. I instantly fell in love and starting dreaming about this space. Perhaps because it needed the least amount of work, the living room was one of the rooms we have tackled early on in the process of turning our foreclosed farmhouse into our dream home.
Designing and decorating this room taught me a few lessons about turning a space into a home.
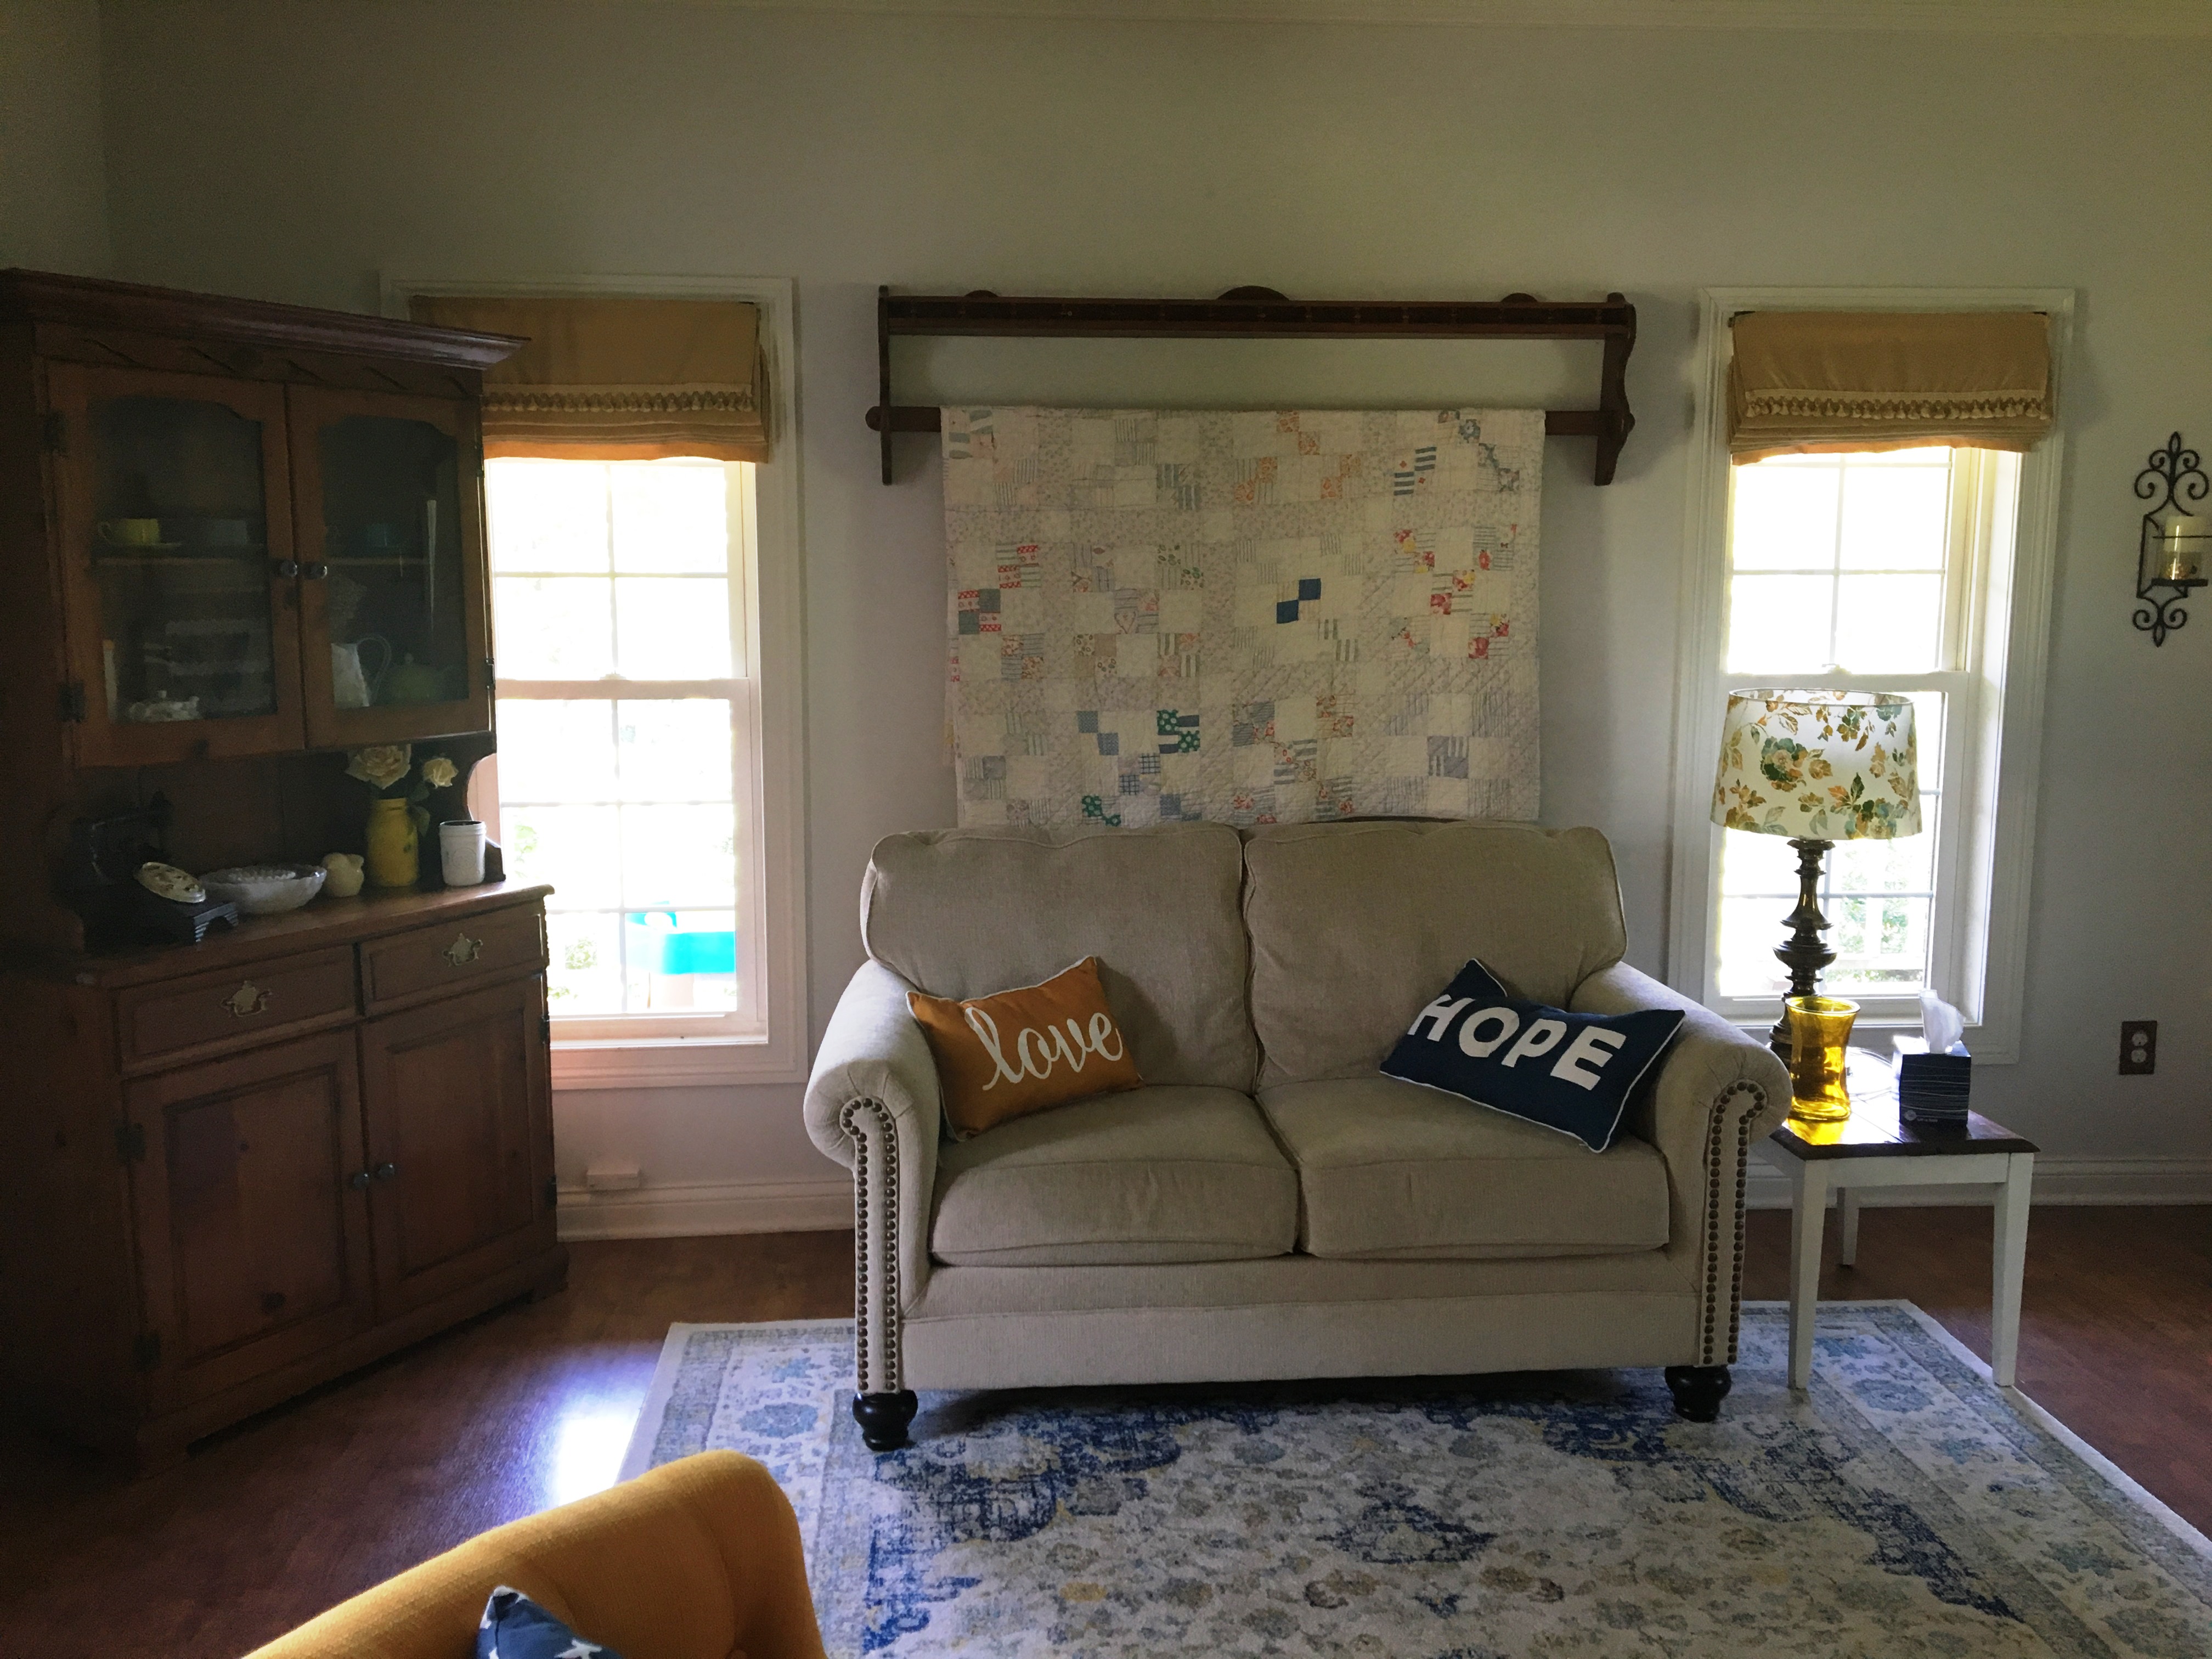
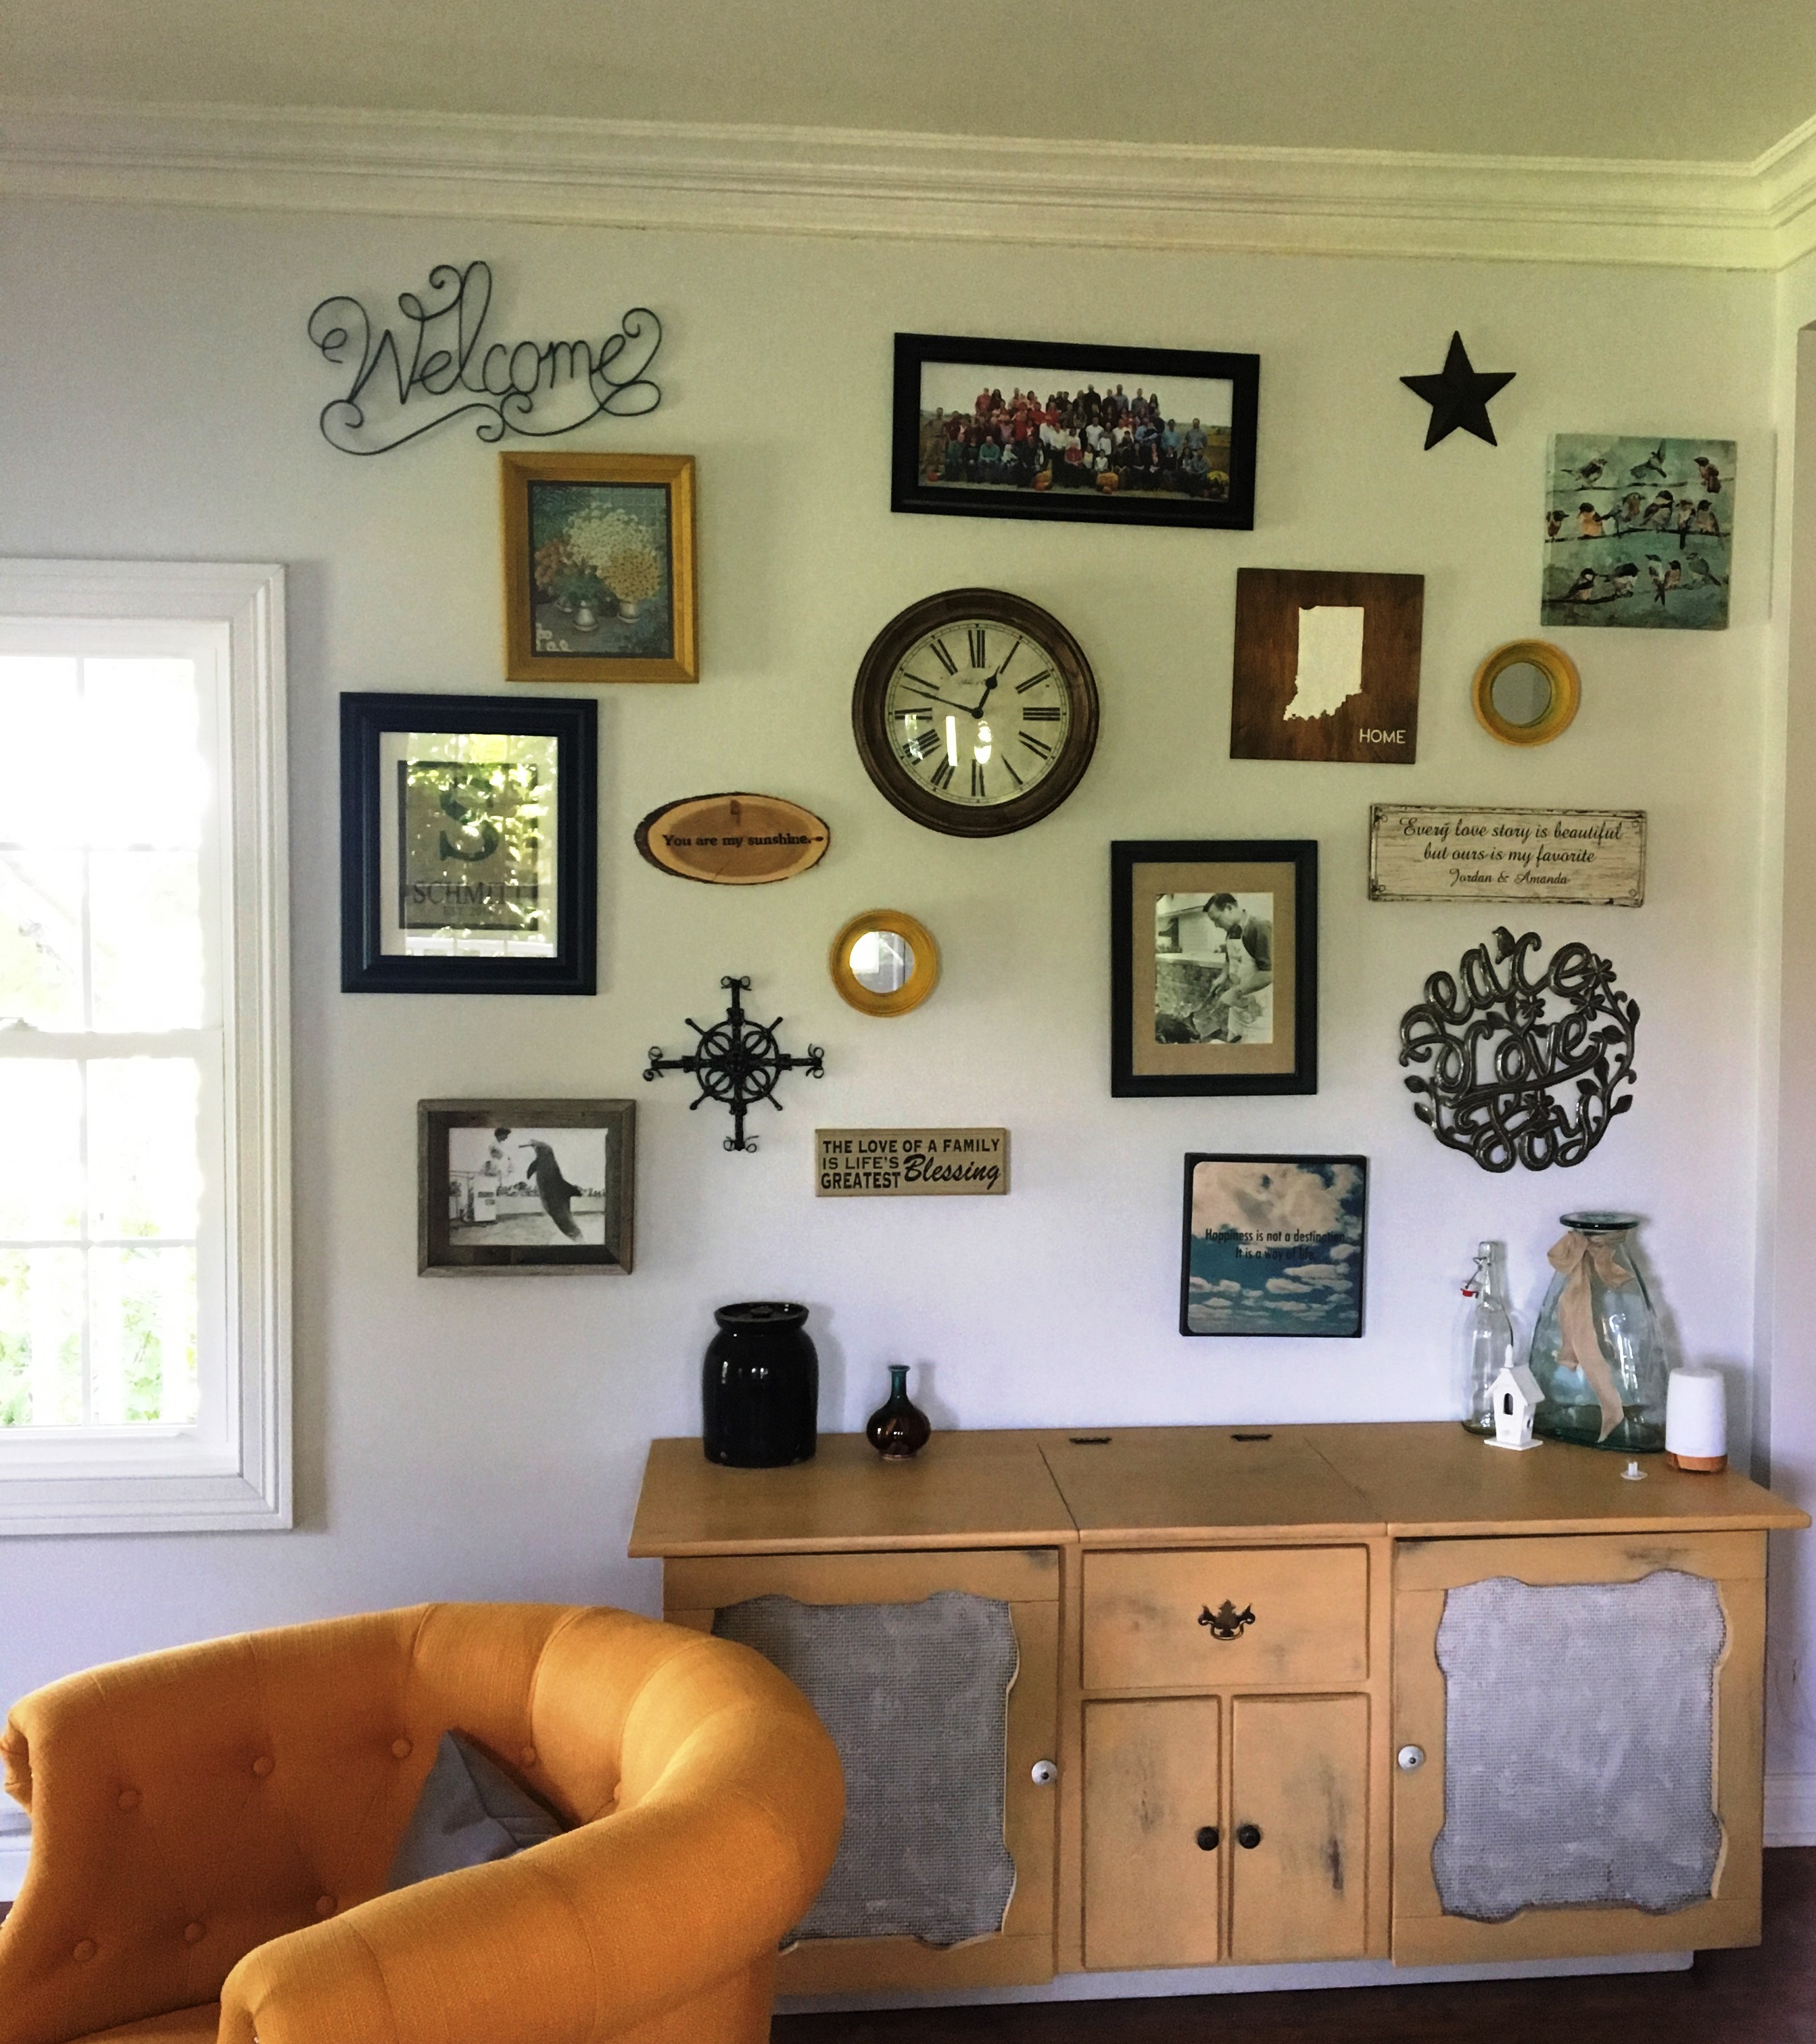
- Perhaps the biggest thing I have learned along the way is you have to make the space your own. I had an entire Pinterest board full of stark white rooms with muted grays and blacks. After we had almost the entire downstairs painted basically white, I realized stark white and clean lines just really aren’t our style. We want to live in our house, not take pictures of it for Pinterest. This meant toning down the white walls, white trim, and white ceilings with bold mustard yellow chairs and a wall full of various knick knacks we have collected.
- Read the reviews. I spent weeks searching for two small chairs to put in the living room. I wanted them to be chairs you would sit in to chat and have a cup of tea, not chairs you would lounge in to watch a movie. Even still, I didn’t want my guests to have a backache from sitting in my living room. I probably read 100’s of reviews of chairs online. I would find some I loved (and which fit in our budget) only to find they had terrible reviews. After weeks of searching, I finally found the perfect chair with great reviews and they were budget friendly. I love them. My two-year also loves to try to jump off the back of them, but alas, he is two and this goes with the territory.
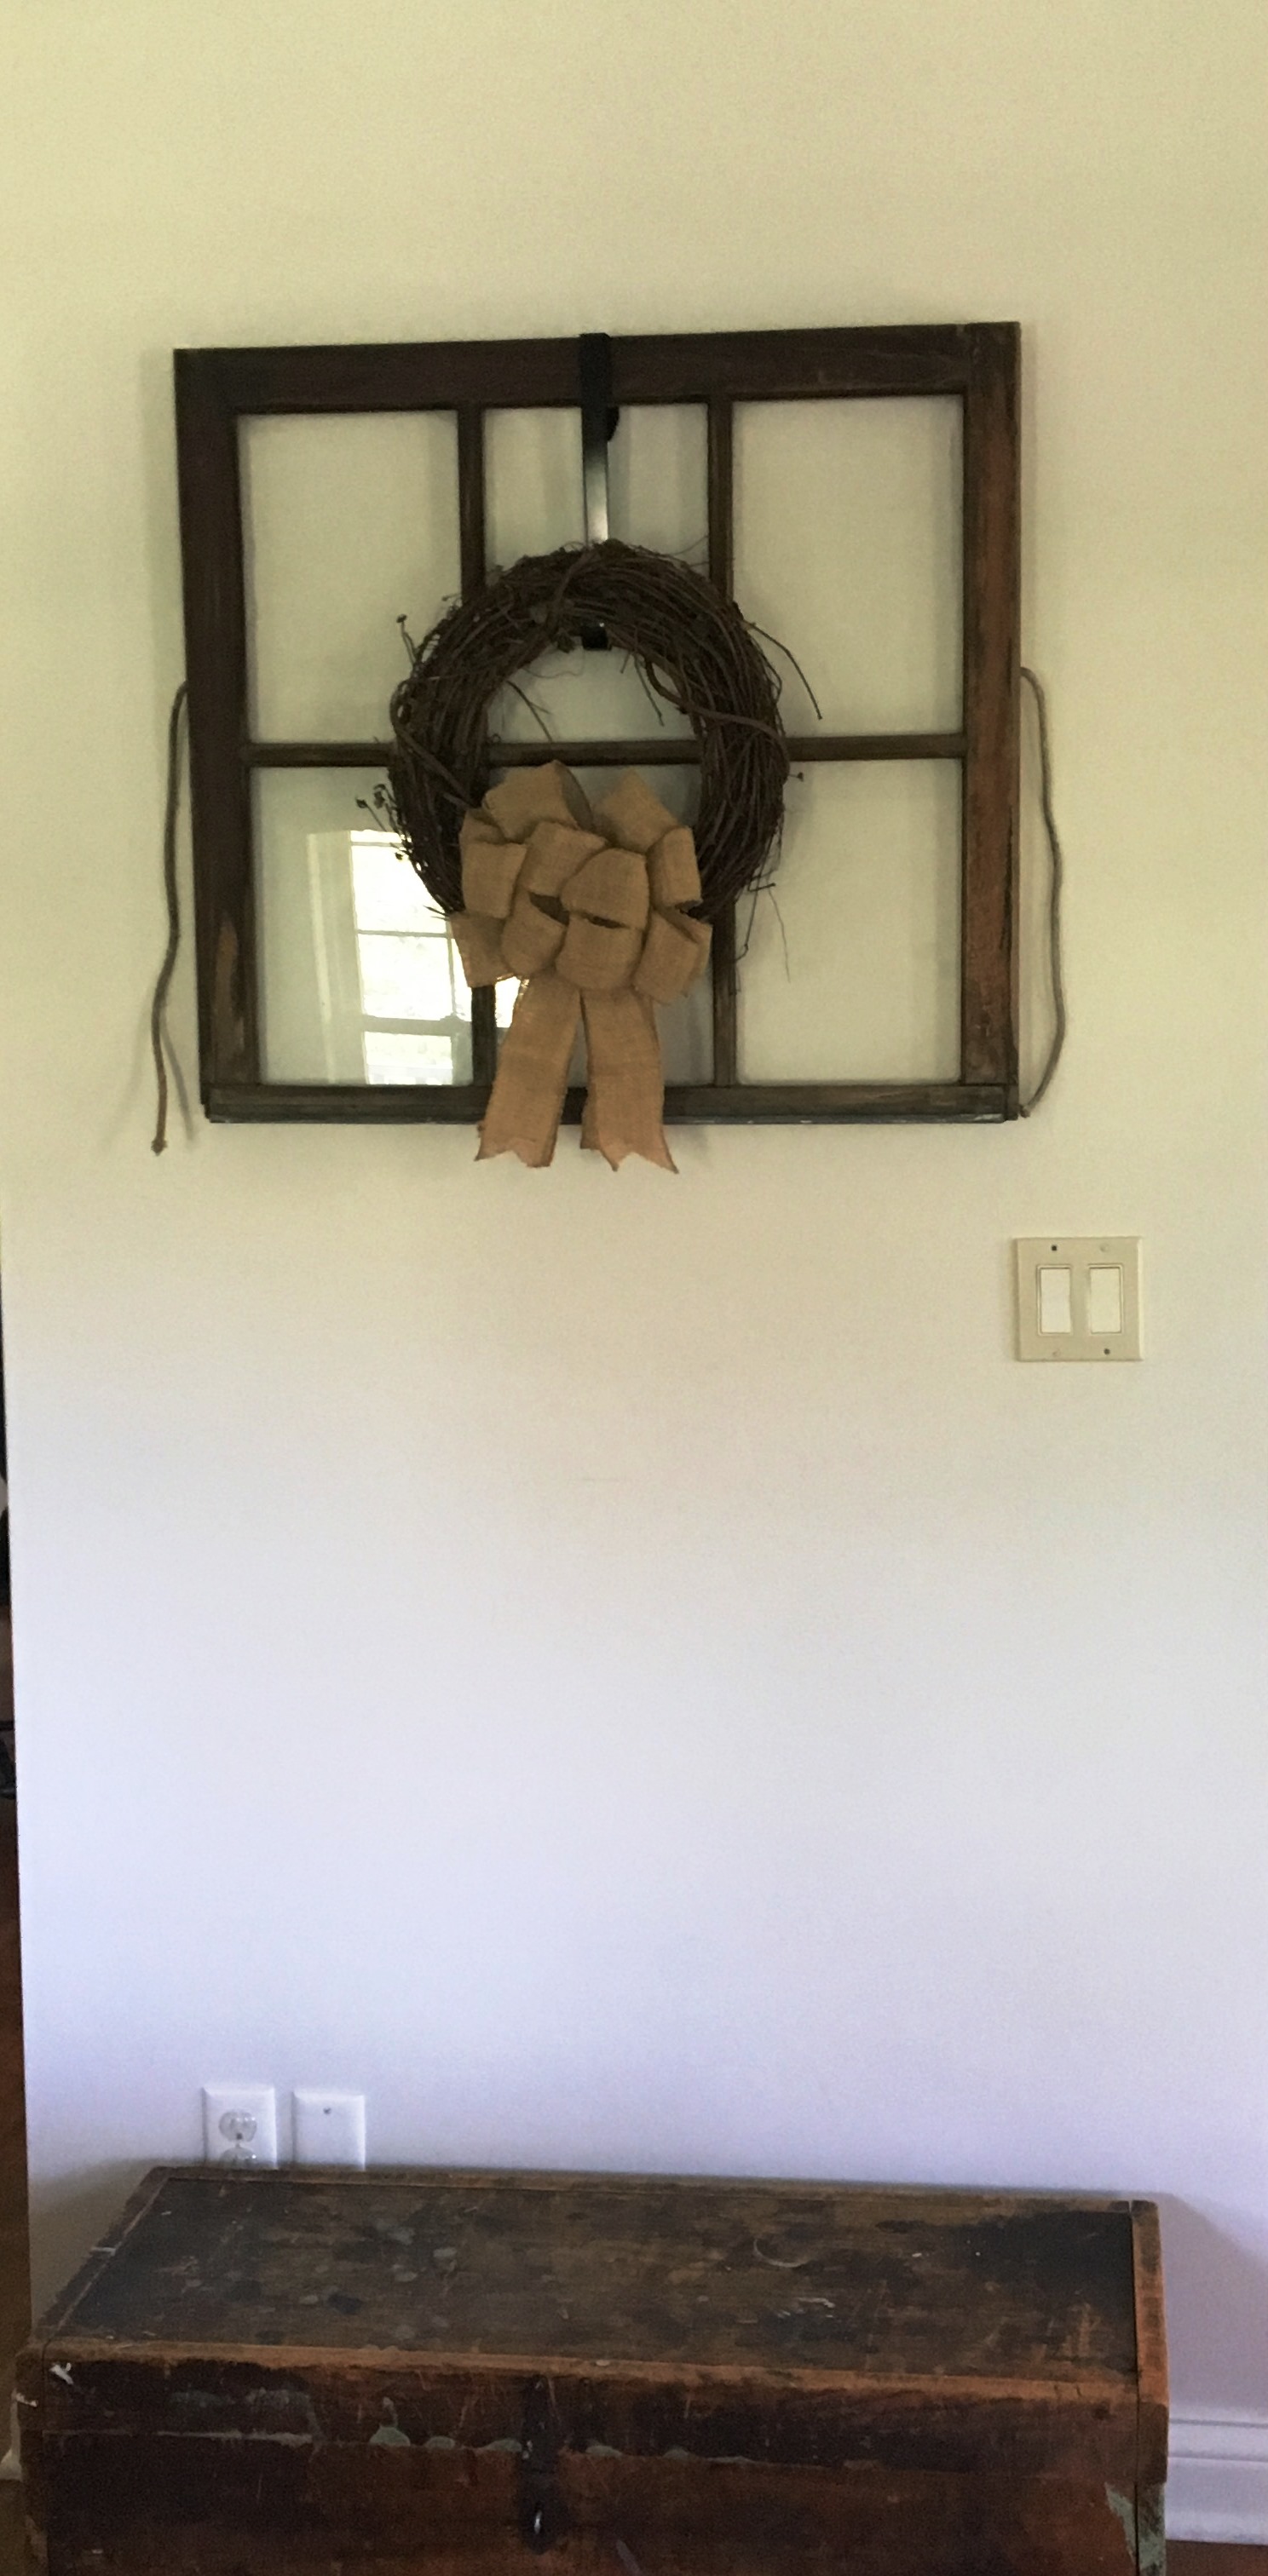
- Use what you have. The portrait wall I included in the pictures below came almost entirely from items I had hung in various locations in our old house. Sometimes things just don’t fit in one space, but look amazing in another. I also never realized how much I gravitated towards yellows and blues until I laid it all out and saw almost everything matched. You don’t need an interior designer or a large budget to redo a room, it may just take moving a picture from one spot to the next.
This room is so far my favorite in the house. I love sitting on the little couch in the evenings and reading to H or having a conversation with J. I am looking forward to the weather cooling off and curling up with a blanket and a cup of tea. And perhaps most of all, it was momentum to keep going as we work to turn this house into our home.
Original Room

Wall Paint- Sherwin Williams Snowfall
Chairs- Joss and Main
Rug-Overstock
Table- Honeysuckle Finds (my favorite local shop!)
Everything else came from our old house:)